
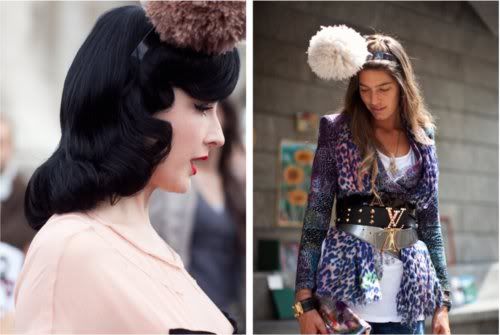
photos via alltheprettybirds
Materials
- small ball of yarn (I used Vanna White's "Linen" yarn for Lion, ha)
- small pieces of cardboard two to six inches across
- scissors
- basic headband
- a few episodes of your favorite tv show

Step One: Cardboard Prep
Cut cardboard into two equal circles. I first cut out two squares, then trimmed off the corners to make rough circles. The size of the circles corresponds with the size of the resulting pom. Poke the tip of the scissor through the center of each cardboard circle. Rotate scissors to enlarge the hole, creating a kind of two-layer doughnut.

Step Two: Yarn
Pull off several yards of yarn. To avoid tangling, make this into a smaller skein. Starting wrapping the yarn around the cardboard doughnut. When you run out of yarn, tie on a new length near the center of the circle, so the knot won't show.

Wrap evenly in multiple layers, until the cardboard doesn't show through. The more yarn you add at this point will give you a thicker, sturdier pom pom. When satisfied, tie ends of yarn together several times near the center of the circle.

Step Three: Cut
Start cutting the loops on the outer edge of the circle where the yarn crosses the meeting of the two cardboard pieces. Continue cutting around the edge of the circle.

Step Four: Finish
Pull the two cardboard circles away from each other by about a half inch. Wrap a foot-long length of yarn tightly around the enter of the bundle, knot off, then pull off the cardboard. Fluff into place. Tie onto a headband, or to a brooch back, trim any wayward strands if you wish, and wear with aplomb!

Basic Cost: $4
oh my goodness, I am definitely going to try this! so cute!
ReplyDeleteI need to see this on you, please. :]
ReplyDeleteThis is awesome! Super easy, it seems relatively quick (or at least you can do other things while you work on it) and SO cute.
ReplyDeleteBrilliant! I actually like the way yours looks more! You could also change the size from small to larger which is nice if you're just trying this look out.
ReplyDeleteI love DIY and this one is particularly great! definitely gonna try it right away :)
ReplyDeleteXoXo
Fiamma
http://fashion-thrill.blogspot.com/
Well, if this just isn't the cutest thing! :) Thanks for sharing!
ReplyDeleteThis is a great tutorial; cute pom-poms!
ReplyDeletei love this. im going to do it like minnie mouse ears tho so make 2 slightly smaller balls in black wool. this tutorial is good cos its customisable :)
ReplyDeleteso simple that I might give it a go and I'm not very crafty at all, love it!
ReplyDelete